Menu
Your cart is empty
Looks like you haven't added anything to your cart yet
Watersports Warehouse Comprehensive Wetsuit Guide
Whether abroad or in UK waters if you want to enjoy a prolonged period of activity, in or on the water, wrapping yourself in neoprene is the way forward! When submerged in water the body looses heat 20 times faster than in the air so you don’t have to be a serious water sports enthusiast to feel the need to keep warm.
Wetsuits reduce heat loss by putting a layer of insulating foam neoprene over your skin. A wetsuit should form a seal all over the body, with particular emphasis on the torso, a snug and comfortable fit. Water can enter at the neck, wrists, ankles and is trapped between your skin and the suit. Parents, please note, a wetsuit with two years growing room in it will provide little thermal benefit initially but may help with sun protection. Wearing a Rash Vest/Rashie under a wetsuit will provide a smooth surface to aid the donning of a wetsuit, helping to make the suit more comfortable by reducing any rubbing particularly around the neck, and will also provide an extra layer.
Wetsuits reduce heat loss by putting a layer of insulating foam neoprene over your skin. A wetsuit should form a seal all over the body, with particular emphasis on the torso, a snug and comfortable fit. Water can enter at the neck, wrists, ankles and is trapped between your skin and the suit. Parents, please note, a wetsuit with two years growing room in it will provide little thermal benefit initially but may help with sun protection. Wearing a Rash Vest/Rashie under a wetsuit will provide a smooth surface to aid the donning of a wetsuit, helping to make the suit more comfortable by reducing any rubbing particularly around the neck, and will also provide an extra layer.
Choosing the correct size of wetsuit will improve the overall insulating benefits of wearing a wetsuit. You should use the measurements on the size charts provided as a guide to overall fit, taking into consideration the height, chest and waist measurements.
Wetsuits come in a variety of options and thicknesses for a variety of water sports activities from just standing knee deep watching the youngsters splash about in the surf, trying a bit of bodyboarding and surfing, to the more serious surfer, competitive triathlete, scuba diver or sailor. Today's neoprene is manufactured to provide optimum warmth with innovative properties to provide freedom of movement previously unobtainable.
We sell a variety of wetsuits for multisport use including snorkelling, surfing, diving, swimming, dinghy sailing, snorkelling, kayaking, canoeing, stand-up paddling, the have-a-go biathlete or triathlete, in fact the majority of water sports uses. Our wetsuits come from some of the largest manufacturers in the surf, sailing, dive markets including Mares, Cressi, Gul, C-Skins, Waterproof, Fourth Element and our own women's Reefwear range. See them all in our Wetsuits Warehouse.
A few definitions

Short arms, finishing just above the elbow and short legs, finishing just above the knee or on the thigh. Shortie’s are ideal for the hotter summer days. Check Out Our Shorty Range:
Men's Shorties Women's Shorties Kid's Shorties

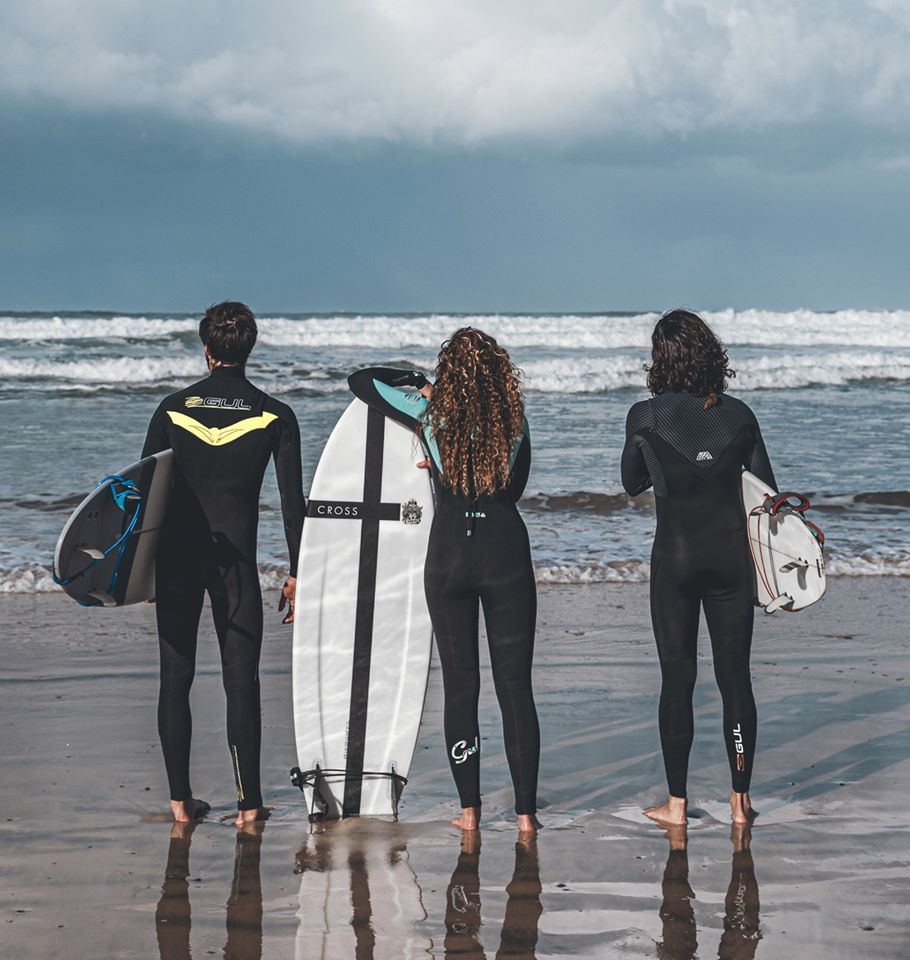
Full Suits/One Piece Wetsuits/Steamers often referred to as steamers; a one piece wetsuit with long arms and long legs. There is also short arm wetsuits, short arms finishing just above the elbow or a convertible steamer which has the option of attaching long sleeves to create a long sleeve full suit. Wetsuits are ideal for anyone who would like to be in the water longer and at any time throughout the year - Spring/Summer/Autumn/Winter. Check Out Our Full Suit Range : Men's Full Suits Women's Full Suits Kid's Full Suits

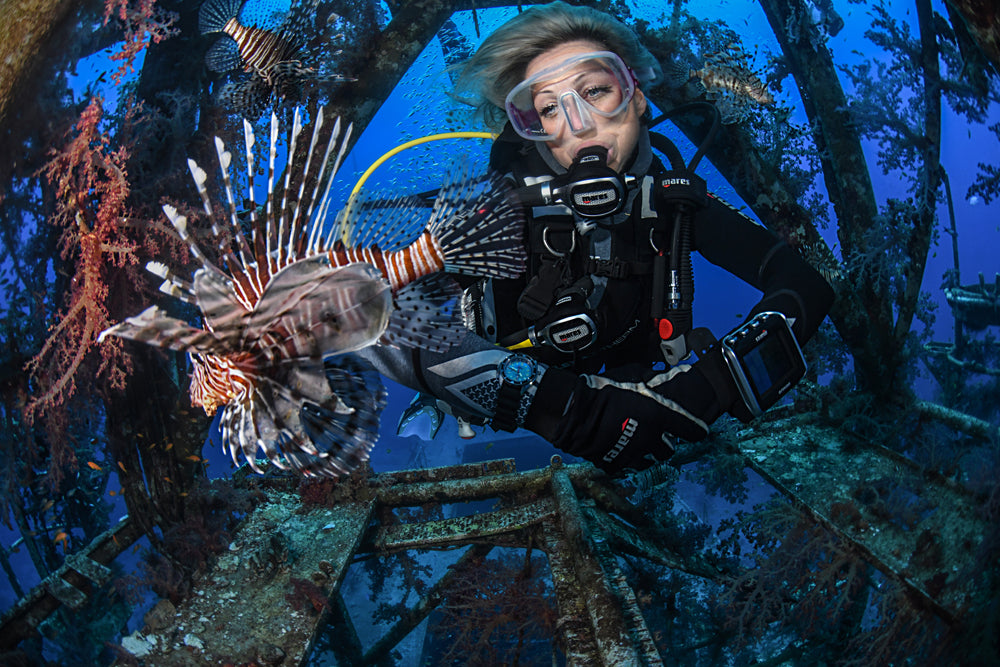
Semi-Dry A full suit with inner 'seals' usually around the wrists and ankles to create a more secure seal to reduce/virtually eliminate water flushing through the suit. A longer seal provides a greater reduction in flushing. Usually associated with higher spec suits, thicker suits and for activities requiring less freedom of movement, where retaining thermal protection is critical such as diving. Check Out Our Semi-Dry Range : Men's Wetsuits Women's Wetsuits Kid's Wetsuits

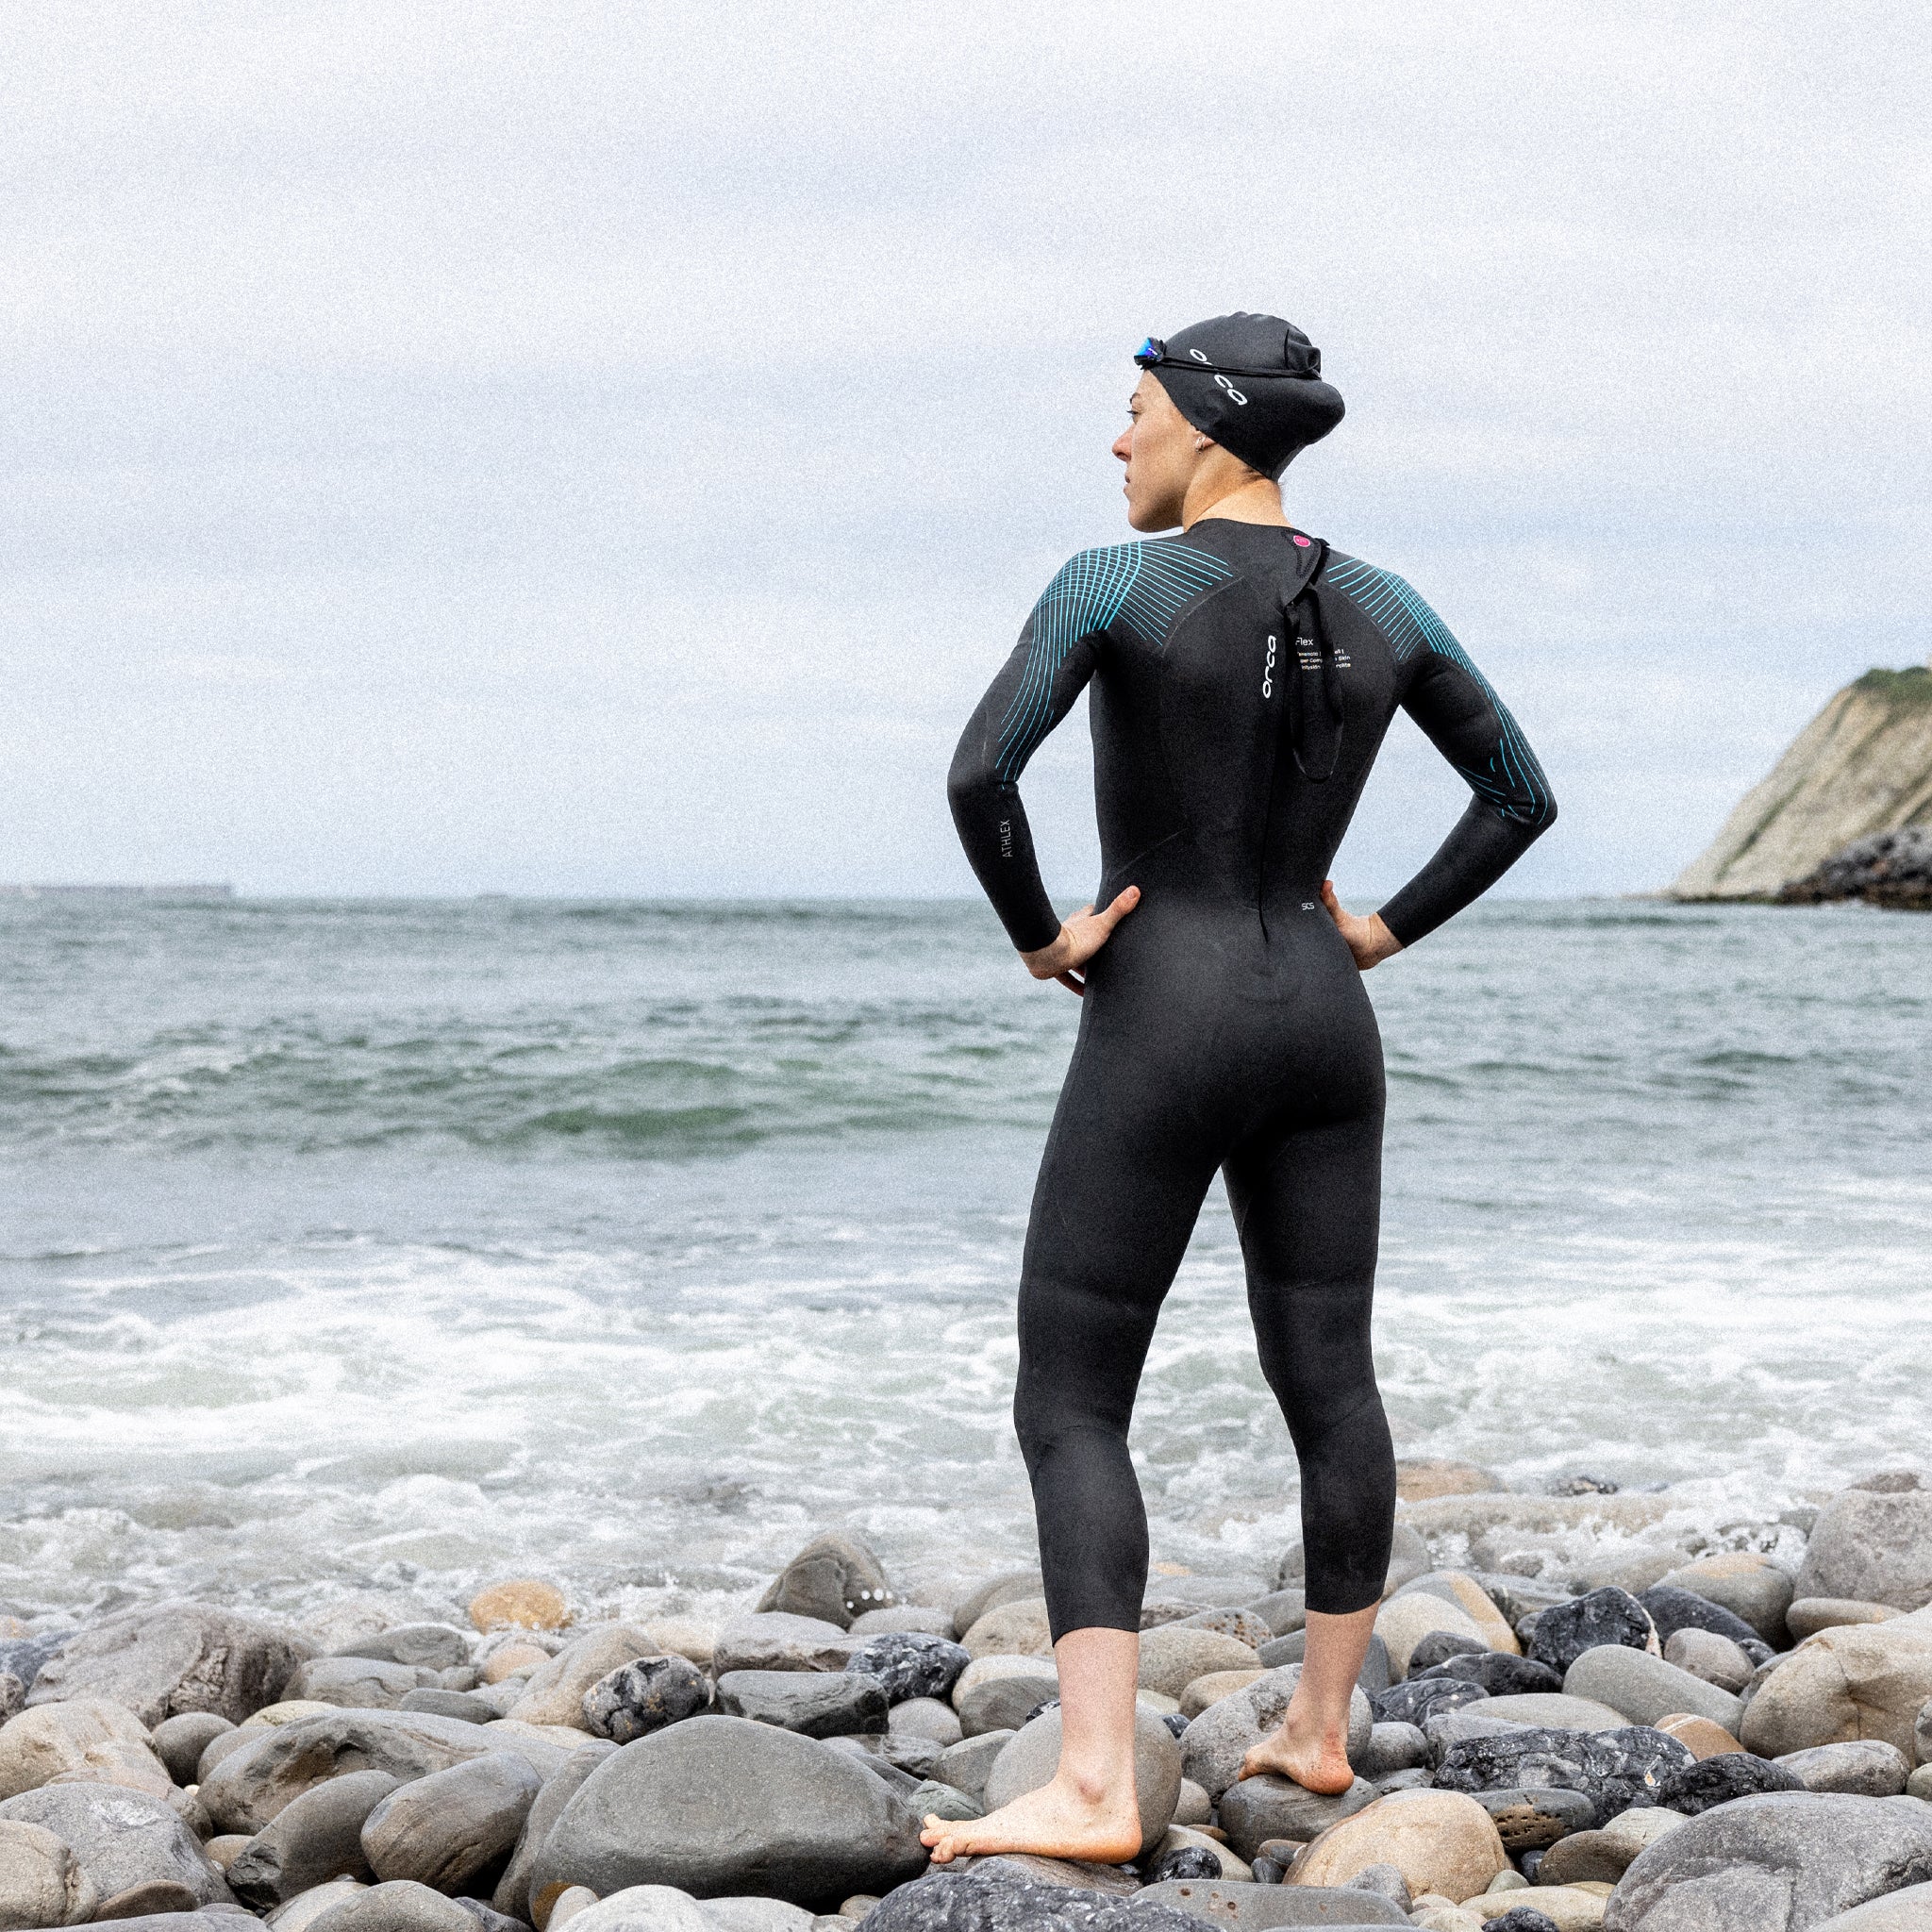
Open Water Swimming/Triathlon Wetsuits are specifically designed for swimming combining different types of neoprene and geared to providing the swimmer with the ideal swimming position by ensuring buoyancy in the right areas, superb flexibility and additional 'glide'/hydrodynamics through the water, as well as some thermal protection. The neoprene used is generally softer and lighter with specific features to provide the swimmer with the optimum wetsuit for swimming. Check Out Our Swimming wetsuit Range : Swimming Wetsuits
What type of wetsuit should I use?
3/2mm, 3mm, 2.5mm Shorty Wetsuits- Fun in the sun, beach watersports, swimming, multisport use
- Warm Water Snorkelling
- Tropical Scuba Diving water temp over 27°C
- Summer Windsurfing, Multisports, Kayak, dinghy, jetskiing, swimming, in fact most water sports etc.
- Fun in the sun, beach watersports, swimming, multisport use
- Summer boardsports water temp over 15°C
- Summer Snorkelling water temp over 15°C
- Tropical Scuba Diving water temp over 25°C
- Summer Windsurfing, Multisports, Kayak, dinghy, jetskiing, swimming, in fact most water sports etc.
- Boardsports water temp over 10°C
- Snorkelling water temp over 10°C
- Warm Water Scuba Diving water temp over 20°C
- Also: Winter/Spring Surfing, Sailing, Windsurfing, Kitesurfing, Jetskiing and possibly Winter Swimming
- Snorkelling water temp over 10°C
- Scuba Diving water temp over 15°C
- For these activities wearing a hood, gloves and boots are also beneficial
- Scuba Diving water temp over 10°C
- Not bad for cold water snorkelling
- For these activities wearing a hood, gloves and boots are virtually a necessity
Please note: the above temperatures/suit thickness offer general guidelines based on our experience gained over the last 30 years. There are a number of external factors that may also be considered, e.g. general ambient temperature, your own physiology or your own requirements.
Neoprene thickness

3mm, 3/2mm
The accepted standard neoprene thickness for warmer summer activities or high energy activities requiring a greater degree of flexibility. There is also a degree of industry accepted tolerance for this thickness of neoprene. Neoprene thicknesses of less than 2mm are designed for high energy activities or tropical environments where less thermal protection is required but naturally have a greater degree of flexibility.

5/4/3mm, 5/3mm
The accepted neoprene thicknesses for year round activities, winter activities or activities in cooler waters. These suits can also have a combination of neoprene thicknesses to create greater flexibility, where required arms/shoulders/legs, providing greater freedom of movement for higher energy activities. Thicker neoprene provides greater warmth but less flexibility.

7mm, 7/5mm
The accepted neoprene thicknesses for year round activities, winter activities, activities in colder waters or any watersports activity requiring greater thermal protection although this usually results in reduced movement, and increased buoyancy. Neoprene of this thickness would more often be used for less dynamic water sport activities where warmth retention is more desirable, such as scuba diving.
Seam construction

Flatlock Stitched Seams:
Flatlock is created by stitching neoprene together, creating a flat seam. This finish is extremely comfortable and durable but can only be used on neoprene up to 3mm and therefore tends to be used on lighter weight wetsuits.

Blindstitched Seams:
Blindstitching is produced by gluing two edges of neoprene together, followed by stitching across the seam, so not piercing the neoprene. Tape may also be added to stress points for extra strength. This is generally considered a warmer finish. Any wetsuit thicker than 3mm can only be constructed with blindtitched seams.
As wetsuit technology has developed there are now virtually ‘stitchless’ suits. Seams can also be double and/or triple sealed using liquid neoprene reducing materials and making suits increasing lighter. Neoprene is also evolving providing lighter wetsuits, which hold/absorb less water which makes a suit less dense when wet and more comfortable as a result. These features are more associated with top-end surfing wetsuits.
Neck Seals/Wrist Seals/Ankle Seals can be finished using a smooth rubber finish eg: glideskin and is designed to help reduce water flushing in these critical areas. This type of finish is virtually always around the neck seal and in the case of semi-dry suits also around the wrists and ankles.
Neoprene type
Single lined neoprene/mesh neoprene
Neoprene with nylon lining on one side, usually the inside, to provide a comfortable finish and aid donning of a wetsuit. Also called mesh neoprene. Usually found on chest and back panels providing a warmer finish as the external surface improves water run-off resulting in reduced windchill.
Double lined neoprene
Neoprene with nylon lining on both sides, inside and outside – for protection, durability and warmth. Multisport wetsuits are usually constructed using the majority of double lined neoprene.
Titanium Lined neoprene
Titanium added to the majority of neoprene utilised on the main body panels to enhance thermal properties of neoprene less than 5mm thickness. Most neoprene these days has a degree of titanium lining but ultimately the overall neoprene thickness, seam construction/finish and fit has the greatest influence on the overall warmth of the suit.
Care for your wetsuit
1. UV RAYS & HEAT
Do not expose your wetsuit to Ultra violet rays for prolonged periods of time. UV rays can break down molecular bonds in the neoprene, resulting in cracks and tears. Never leave your wetsuit to dry in the sun or in a place where it would be exposed to UV rays. Exposure to really hot heat will cause neoprene to lose its elasticity, and to some degree, even its shape.
2.CHEMICALS:
Do not use any chemicals to clean your wetsuit and if you notice or suspect there are any chemicals, oil or gas present avoid the water.
Avoid Chlorine if possible.
3. CLEANING & DRYING
After use in salt water, please rinse your suit in freshwater. Salt and dirt can be detrimental to your suit if not washed away before storage. Wash with a mild temperature using a wetsuit cleaner if necessary. Please pay particular attention to remove any sand or foreign matter from the zips to prolong its lifespan. When drying your wetsuit turn it inside out, this will protect the neoprene from uv radiation and protect the flexibility of your suit. This will also benefit you when you come to wear it again as the inside will be dry making it a lot easier to slip into.
4.WETSUIT STORAGE:
We recommend you dry your wetsuit on a heavy-duty hanger so it will not leave any marks and ridges in your wetsuit. As the wetsuit dries out it tends to take the shape of the hanger so you want the hanger to be fairly beefy probably made out of wood, heavy-duty plastic or a padded hanger. There are several companies that sell specialised wetsuit hangers. Please don't use a metal hanger as this could rust due to the water in the suit. For long-term storage, once the suit is dry, you can lay it out flat in a dry and cool place away from the sun.Try not to store it in your garage or where you may keep your car as exhaust gases can damage neoprene.
5.WETSUIT REPAIRS:
For minor repairs we sell a wetsuit repair kit from Gul and C-Skins each containing neoprene patches and neoprene glue we also sell Blackwitch Neoprene Glue by GearAir (formerly McNett).
Wetsuit fitting

CHEST
Choosing the correct size of wetsuit is key to ensuring you benefit from the insulating benefits of wearing a wetsuit. You should use the measurements on the size charts provided as a guide to overall fit, taking into consideration the height, chest and waist measurements. To help guide you to choosing the most appropriate wetsuit size, you should firstly take these key measurements: Your Height (normal height measurement, top of head to ankle/heel), Your Chest, Your Waist measurements. When you have this information you can properly refer to the manufacturers sizing guides. Every wetsuit manufacturer produces their own size range of wetsuits and has their own way of referring to those sizes. Some manufacturers will use numbers to identify sizes eg 1, 2, 3 etc. some will use letters eg M, MT, L, LS, etc.

WAIST
Occasionally a manufacturer producing a large range of wetsuits may also have specific size/measurement guides for certain types/designs of wetsuits within their range. As a result you may not always be a (L) Large in every design/style/brand of wetsuit. Neoprene stretches in all directions and tends to conform to the body shape. A 3mm neoprene wetsuit will often fit/feel quite different, as the neoprene is more flexible, compared to a much thicker 5mm or 7mm neoprene suit which has less flexibility.
Putting on a wetsuit is not difficult but requires a little patience and technique. The thicker the neoprene the more awkward/tighter it may seem. A wetsuit is designed to be a snug fit in order for it to work efficiently. The below information assumes a back zip wetsuit.

HEIGHT
GETTING INTO YOUR SUIT 1. If you are putting on a full suit wear socks as this will help the suit slip over your feet/ankles. Open up the wetsuit, put one foot in, point the toes, and ease the opening over the foot and heel. The bottom of the leg should be just on or above the ankle. Pull the rest of the leg up over the calf to about the knee. Put the next foot/leg in.
2. The top of the kneepatch on the suit should usually be positioned to lie just above the knee area – the majority of knee protection falling below the knee down to the top of the shin area. Once the legs are up to the knees, continue working the wetsuit up each leg alternately, use a technique we call pinch ‘n’ pull – with the pads of your finger tips (not leading with your nails).
3. Ease the suit up the thighs and gradually, over the hips and bottom, and gradually up the torso. Try to avoid having a saggy skate boarders crotch.
4. If you have a gathering of neoprene around the lower leg/ankles – this will mean less neoprene for your upper body and may feel like the suit isn’t long enough or too small. So you must work any excess up the legs, over the hips and potentially into the lower torso, which will provide more flex for the upper body/chest/back and even shoulders.
5. Once your torso is in and the wetsuit is up to your chest, put ONE hand/arm in at a time – this will then keep one hand/arm free to help work the suit up the other arm. Ease any excess neoprene from around the wrist all the way up the arm and over the shoulder – pinch ‘n’ pull. Then put the other arm in, making sure you continually work any excess up the arms to cover the shoulder. Once the arms are in and the shoulders fully covered - You will have the suit on !
6. If you have a gathering of neoprene around the wrists – this will mean less neoprene on your shoulders and may feel like the suit is too small. So you must work this excess neoprene up the arms and over the shoulders.
7. It is always advisable if someone else is able to zip the suit up for you – with a back zip.
8. DO NOT use the zip to pull the two halves of the suit together if it is not on your shoulders/arms properly.
9. DO NOT pull on the zip if it meets resistance – you may have something caught in it. The inner flap that sits under the zip should lie flat so that it forms a seal underneath the two halves of the zip – if it doesn’t it may stop the zip. The zip will ‘run’ more easily if it is as straight as possible – so if possible hold the neck seal together or top of the rear zip while you use the webbing zip puller with the other hand.
10.Finally, work the suit in to a flush fit by using the pinch ‘n’ pull technique to work out any slack and get the suit comfortable. It should form a ‘seal’ all over the body. Remember also a wetsuit will feel different in the water. Oh, and do remember to take your socks off.
With 35+ years of knowledge and experience in using, buying, selling and fitting wetsuits, for scuba diving, surfing, bodyboarding, sailing, snorkelling & swimming we've amassed a wealth of knowledge we love to share - just reach out.
- Choosing a selection results in a full page refresh.

